My top is this striped peplum in poly chiffon from NY & Company
(I've always loved their tops)
The year I started sewing I coveted this pattern!
There weren't many versions made up but still - I wanted it!
I was going to make it before as part of a wardrobe contest, cut the pattern out, but didn't have enough fabric. Then, I intended to use it for the current PR Wardrobe Contest (of which I've dropped out of), so when Michelle from Style Maker Fabrics contacted me and asked me to participate in her Spring Canvas Blog Tour, I jumped at the opportunity to choose a white fabric to use for my vest.
I am #7 on the tour so be sure to go back and check out the projects of the lovely 6 ladies that went before me!
I've wanted a crisp white topper for the longest and went for THIS cotton/linen blend.
1) For the crispness
2) Because it's lightweight (and summery!)
3) Because while lightweight, it's stable enough to handle the zippered welts I wanted to insert
As I mentioned, the pattern was already cut out - in a size 16. I'd already made flat pattern adjustments: Narrow shoulder, taking a tuck between shoulder and bust, and swayback.
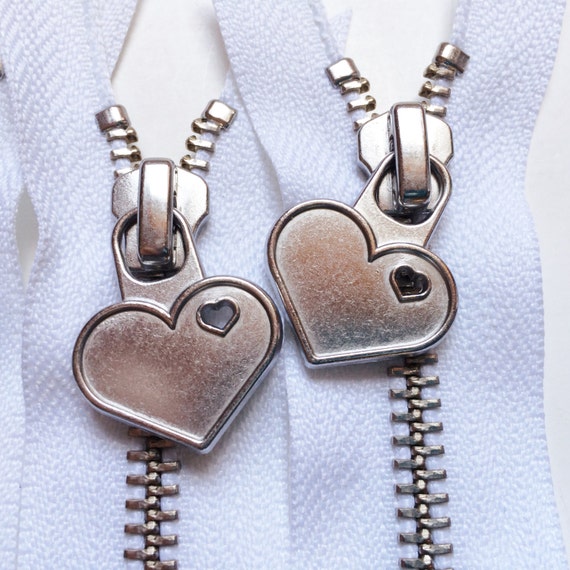
Zip-It (NAYY) is my main go-to for interesting and/or single zippers (Otherwise it's Wawak all the way).
I was buying zippers for another project and picked up 4 of thsese. I HAD to have them! :) I ordered these almost a year ago and was so excited that a project finally came up giving me cause to use them.
The vest comes with patch pockets -- which I am SO glad I didn't use! More on that later.
I used Fashion Sewing Blog TVs tutorial for the pockets - she is so good. Interfacing. Careful marking. Careful stitching. It's certainly nothing you want to rush through!
They aren't perfect - next time I'll topstitch 1/4" from the zipper - but I was So proud of myself!!
I'd posted this on IG mid-construction.
always mind your marks!
My collar went in effortlessly, because I had everything properly marked and took my time.
I'm very happy with it!
All seam allowances are serged and pressed open. The fabric is fairly opaque, but the center back seam shows up through the fabric. I have no photos of the back because it started raining and my photographer ran in the house. She'd just did her hair. :) But this photo starts my issues with the finished project.
I think it looks like a lab coat.
And after I initially thought it, I couldn't shake it. Could. Not. Shake! I hoped the zippered pockets would help (see why I'm glad I didn't go with patch pockets?!) but I just don't love it :(
Also, it is incredibly boxy and shapeless. And making it a size too large doesn't help (it was cut out in a 16 and I really needed a 14). I really like the back vents and the idea of it -- and the fabric truly is awesome! I may go back and try to nip it in through the waist. Maybe. I don't have an issue walking away from a pattern that isn't working though. And right now, I have so much on my plate that it isn't a priority. I'll toss it in the naughty box for now and see if I want to bother with it when I have time to sew again.
Even so, I think my next attempt at a
***I received the fabric for free from Style Maker Fabrics in exchange for participation on the tour.
Pattern choice and opinions (as per usual!) are completely my own.***
There are 5 more stops on the tour, the lovely Lori of Girls in the Garden is up next!
I'm moving soon and in full-on crazy mode. Then I need to finish the prom dress. BUT! I have a couple finished projects though that haven't made the blog! So I'll be scheduling those to post over the next couple of weeks. And I'll only be responding to questions in the comments. They are all appreciated though! Know that!!


