Showing posts with label Burda 7136. Show all posts

Thursday, November 27, 2014

Burda Strikes Again!

I never got additional pics of the dress soooooo let's just discuss the particulars, shall we?


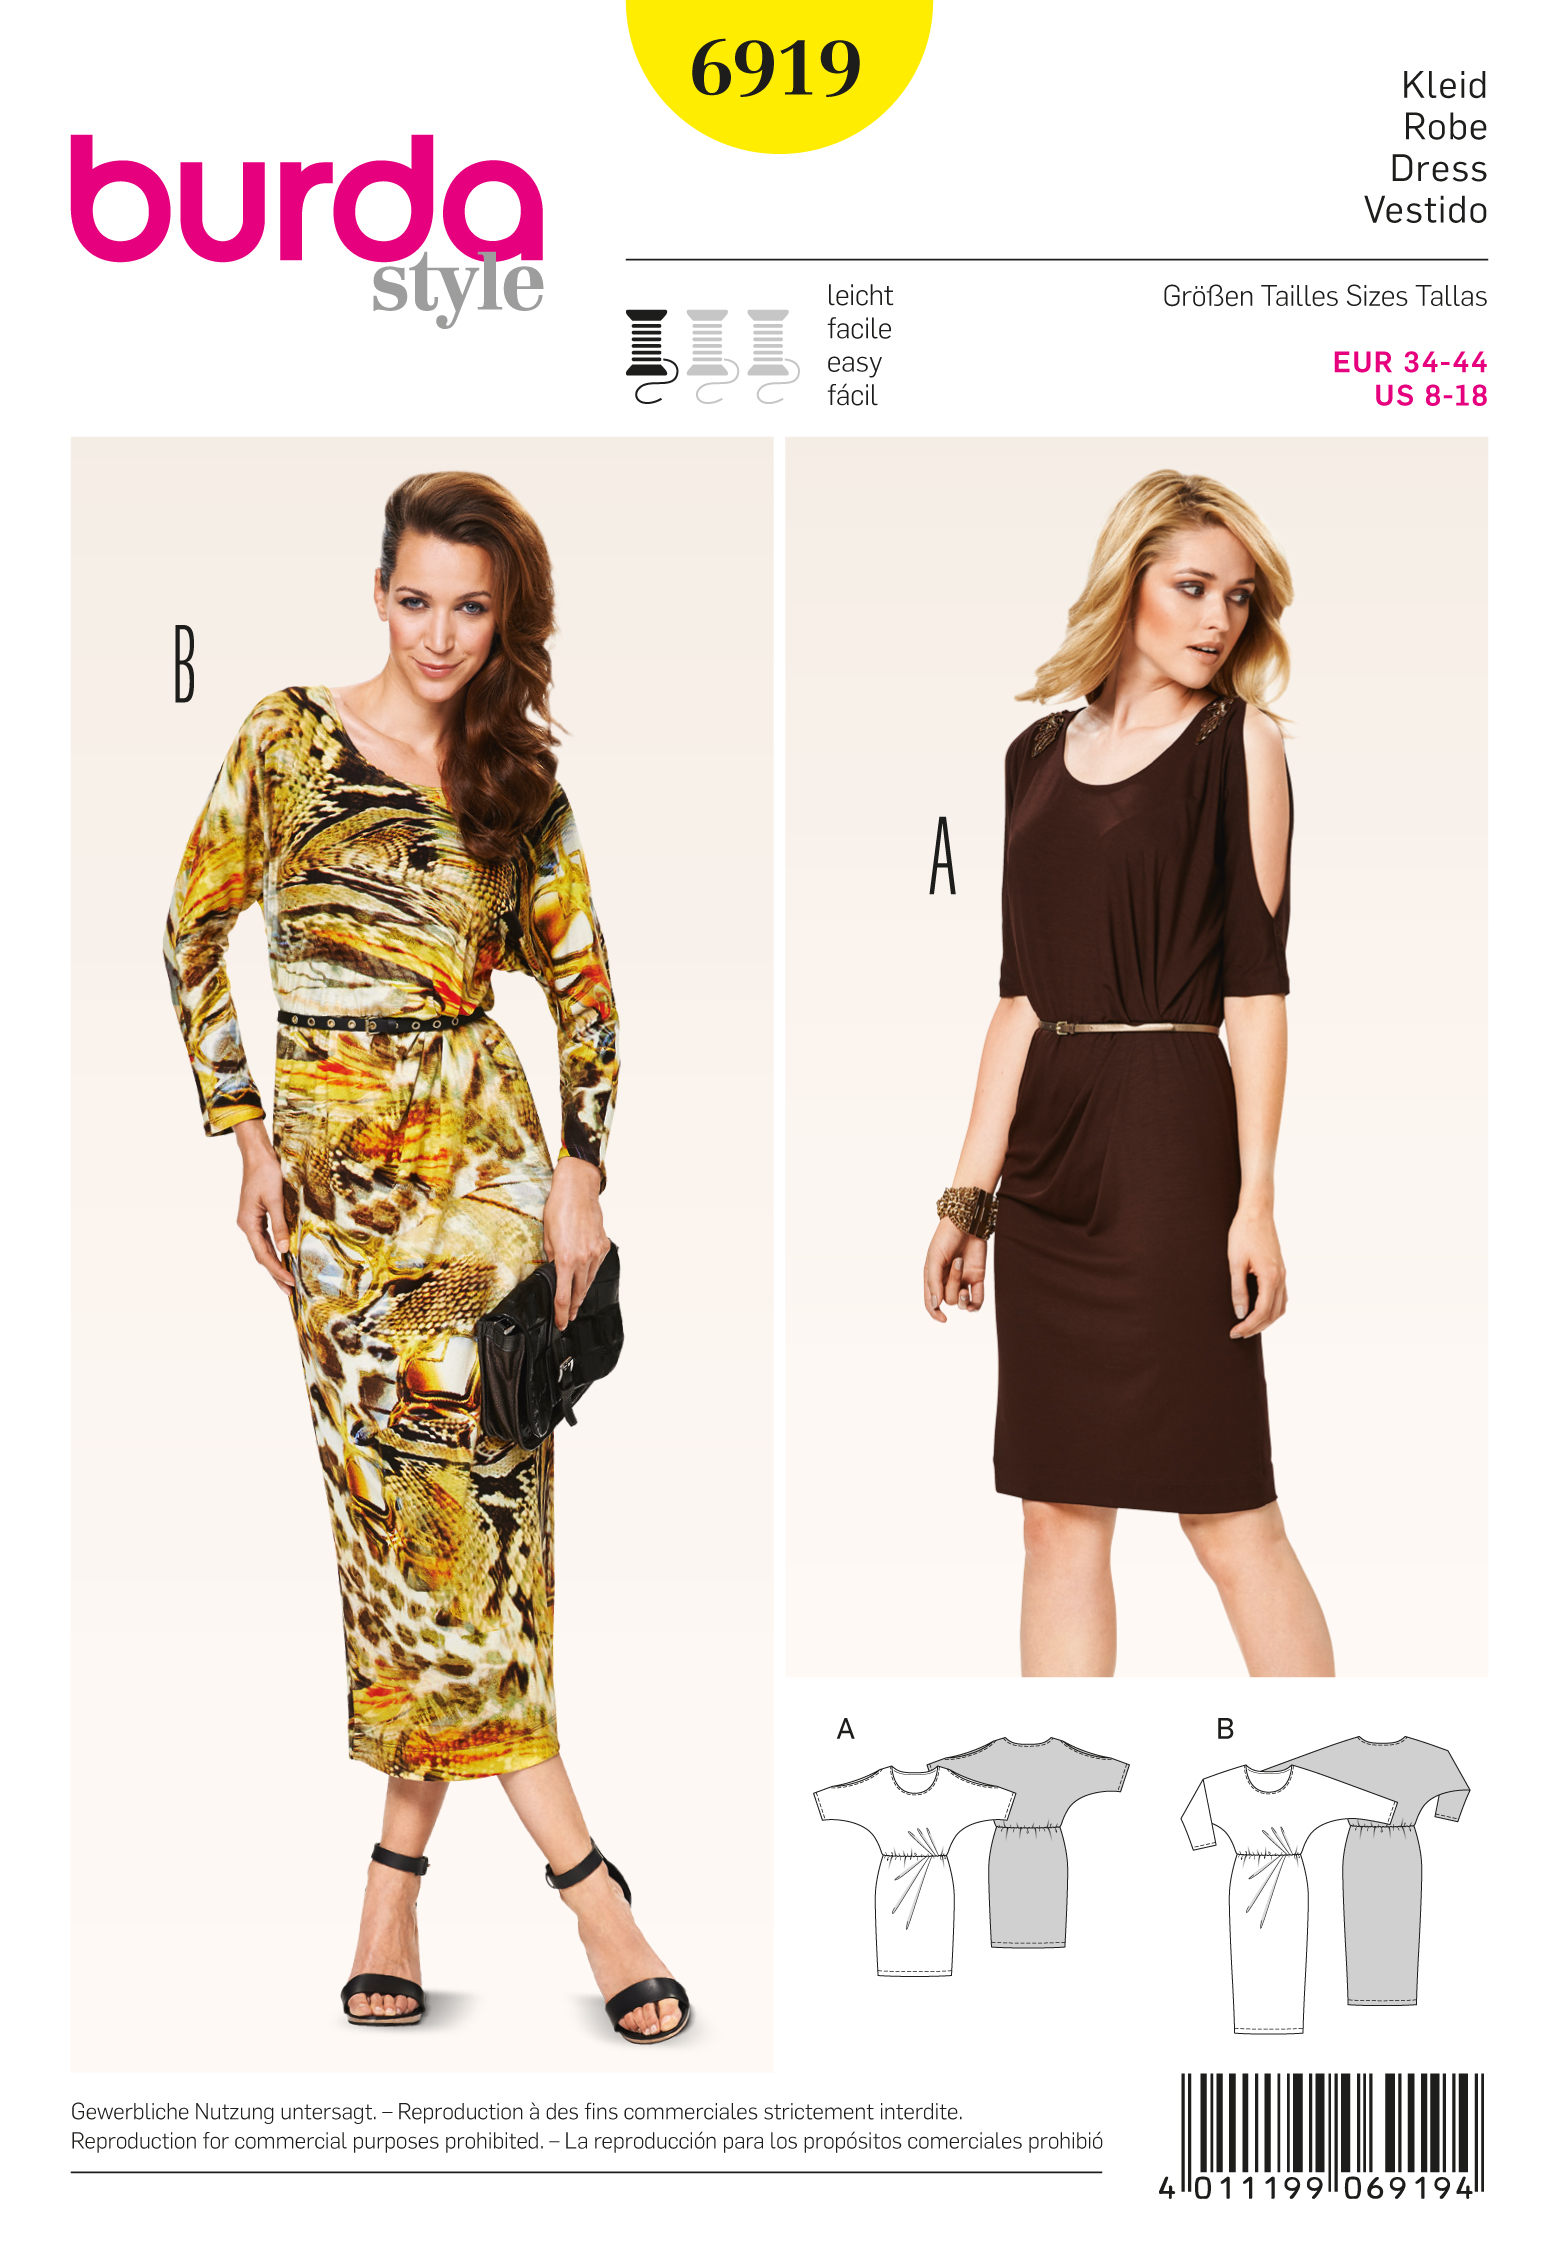
"Must-have dresses with integrated kimono sleeves, narrow skirt added to the bodice, fitted to the waist with an elastic casing and charming fan-shaped waist folds. Dress A has striking shoulder seam openings."


I love Burda's descriptions! hahahaha! STRIKING SHOULDER SEAM OPENINGS!!!!!!

I cut a 14 neck/shoulders, 16 bust and waist and 18 hip. I used black ponte that I scored nearly 10 yards of when Fabric Mart had a sale. So I might be doing All Black Everything! (music reference) :)

Construction of this is very straightforward. The are where the bodice and skirt pleats meet is so insanely bulky!!!!! I definitely had to baste and take it slow going over that section.

I chopped 2.5" from the hem, and didn't add the elastic at the waist. I would probably never wear it unbelted. Something went haywire with the neck binding so I ended up turning it to the inside and topstitching - problem solved.

THOSE ARM OPENINGS! That is probably my only gripe with Burda - mag and envelope patterns - they think everyone has super svelte arms!

I loved wearing the dress and think it's a fun LBD to have in my wardrobe!!

**********************************

I've been wanting to make my coat but my hand has been kicking my behind and cutting all that heavy fabric is not in the immediate future. Soon. SOON!

I went back and forth and back and forth on whether or not I was going to sew something to wear for Thanksgiving. I knew we weren't going outside (it's 7 degrees F. Seven.) so I was going to make a dress or skirt but I need to get more practical with my sewing so I went with a new shirt!

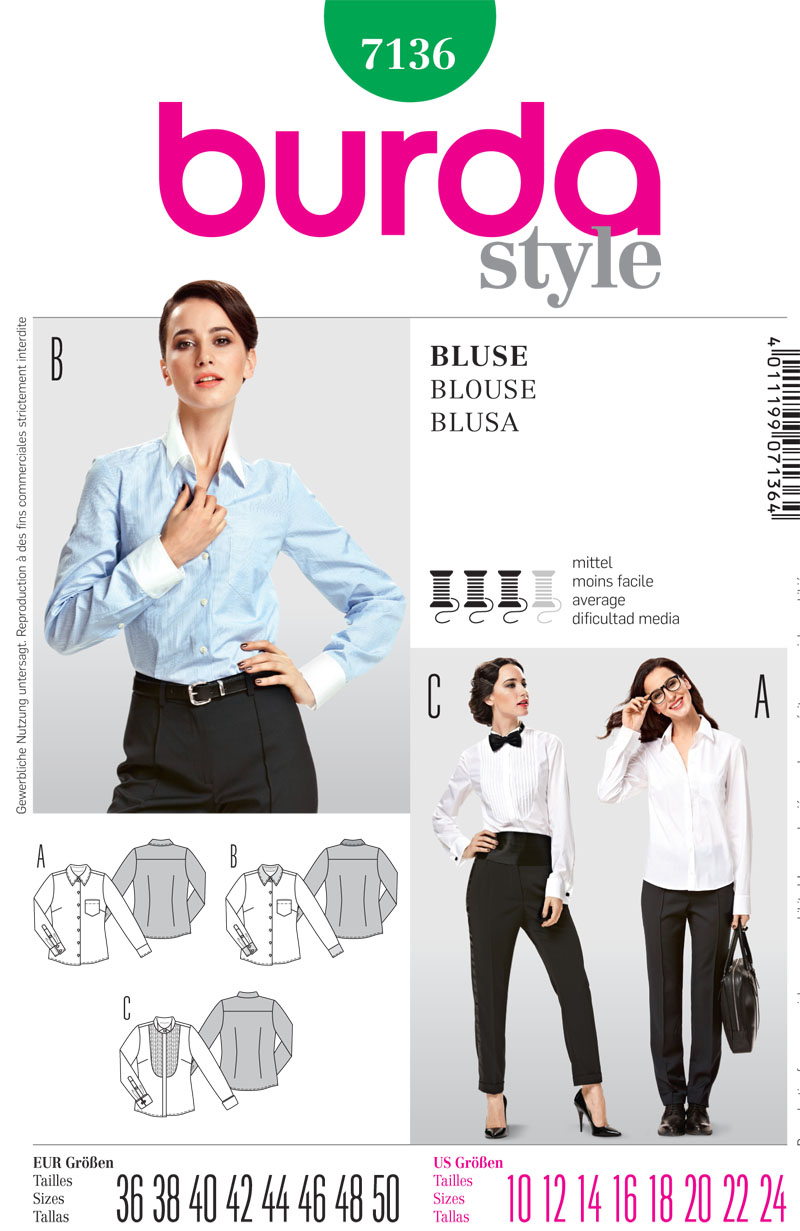
Even though the mercury is way lower than it should be, it's still fall darn it! I sewed up one of the shirtings I got with my Fabric Mart dollars using Burda 7136. I mean, I just used it, so why futz around with something else?!

The pattern calls for 1 3/4 yard of 44" fabric. Ignoring my plaids (which I had to do), I still had to do acrobatics and cut some pieces on the cross grain!

Sheesh.

I cut the fronts single layer and did it matter? nope. Still off. By like 1/2!!!  But I love the shirt enough that it doesn't bother me.

This fabric is COZY. It's super soft and washed and pressed like.a.dream. Still a few yards available at $4 per. (here)


I did my FIRST ever bicep adjustment! It's a silly fiddly one but - yay! My arms are not constricted by my sleeves. Whoop!

See the off-ness of the plaid? Meh. 

Somehow I managed to have 13 matching buttons in my stash. I have realized though that I'd like slightly smaller buttons for my sleeve but I only had what I had. Because my hands have been hurting I sewed the buttons on by machine, pulling the threads through to the back and tying a knot.


Look at those plackets! ;-) None are backwards - yay!
Last time something wonky happened with my collar and here I feel like it's a little short. Eh. It'll be alright. I did a narrow hem, like usual.

I decided it SHOULD have navy topstitching because? I like blue. The directions have you stitch the front bands down, then just turn that section up at the hem. That is not so clean. I did it so the inside of the band at the hemline is enclosed.


I have room for my arms!!!!!!!!!!!!!

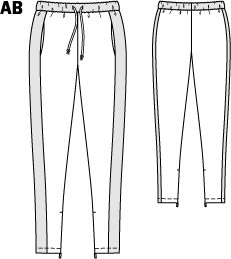
I wore it with my V1411 legging-pants today for Thanksgiving. Plenty of room for turkey and stuff.

DD picked out my necklace and loved my cocktail ring.

Saturday, November 15, 2014

Finished Items; Burda 7136 & Vogue 9032

Because I've made V9032 already (here)...

Dear Butt Princess Seams, how do I love thee?
Let me count the ways!

I really love this pants pattern and must refrain from making 18 pairs of the same pants. This time I used a poly/rayon/lycra suiting fabric from Fabric Mart (here). It takes a press well, has some drape but is not at all wrinkly. It was $4/yd and I like the color and it behaved well during washing, drying and construction - win!

I made no changes (intentionally) from the last pair. I was cruising right along and then realized I was supposed to put the zipper in AFTER the pockets. Because the pockets are 'caught' in the zipper area. So I had to do some rigging. But I mean...that's the inside so... :-)

Serger was loaded with grey and white so the inside is finished with grey and white! I did not do the bias tape on the facing. I really love that little feature but it feels so time consuming.

The deep hem I LOVE!!! It provides such a nice weight to the pants.


And I finished my shirt! yay!!


I decided to cut a size 14 which had a finished bust of 41" and do a FBA of 1/2" - for a finished bust of 42". I thought that would be plenty of room. I have diagonal lines so I am thinking I needed maybe a bit more length over the bust. I made a narrow shoulder adjustment of 1/2".

I measured the sleeve and could have sworn I was 'okay' with the bicep width but they are a bit snug there.

Those dang blasted pockets.

I wanted them but now I want to rip them off. Bleh. The real issue is my sloping left shoulder (which I never account for because I know I should kinda make a separate front pattern piece and fix it but that's too much like right!). When my shoulders are relaxed; the pocket droops/slopes! Grrr!

There are wrinkles in the back which honestly don't bother me :oops:! I hope the fit police don't get me.


I LOVE it tucked in, but I rarely wear my shirts tucked so...

I realized my sleeve placket doesn't bother me. It makes me chuckle every time I realize it's backwards. Like, it's not an ever-present "OMG MY SLEEVE PLACKET IS BACKWARD" thing...

What's really funny is that on the correctly done sleeve placket, I ended up doing the buttonhole on the wrong side! hahahaha!!!!!

I started unpicking the stitches and then thought, 'ahh, what the heck. The button will cover most of it' and I left it.

What else...
*The sleeve went in perfectly and I am almost wondering if there is too little sleeve cap ease.
*The cuffs are a bit narrow (someone, Graca??, mentioned this. Like there isn't even 1/4" to seam the sides of the cuffs, it's weird.
*The placket has 5/8" seams which is just too much. I was surprised this wasn't pared down to something more manageable
*The sleeve length was perfect for me. But I have somewhat long arms for my height. When I made B5678 and all my 8,013 M6844 cardigans I added 1" to the sleeves.
*I didn't follow the placement suggestion for pockets or buttons cause...Boobs.
*I used darker thread for my buttonholes for some contrast - I like it.
*Fabric is some crazy nice shirting from Fabric Mart, bought with ma' winnings. Woot! (the photo showing the buttonholes is closest to the true color)

First time doing plackets, SUPER proud of my edge stitching, 
clean finished yoke and nicely set sleeve!


This was also my first time doing a flat-felled seam! And umm...unless I make a shirt for one of the dudes, I probably won't do it again. So fiddly. So. So. Fiddly. I did not enjoy that process at all. 

Something weird happened at the collar. I don't know if I accidentally cut a size 16 collar or what but it was as I was trimming the seams that I realized I shouldn't have bulk where I was cutting. Well, that's because my collar comes all the way to the end of the collar stand (vs ending 1/2" or so away). It also doesn't bother me. I will double check things for next time though.

When I first got my machine, I made buttonholes. Like that same day! I was amazed that you can make buttonholes!!! and they were pretty good. Eventually, I started to realize my machine does not make very nice buttonholes and they were coming out uneven and pretty janky.

I was going to go to a sewing store that has an open sewing night and use of their machines for the buttonholes but they had no open sewing FOR THE ENTIRE QUARTER (insert mock outrage!). 

Lo and behold my machine stitched some pretty freaking awesome buttonholes. I wanted to hug it or pet it or give it cookies - something. And all 11 of them are perfect. Perfectly consistent buttonholes.

Saturday, November 8, 2014

A Finished Item, A Wadder and a WIP

hmmm....wadder first??

So, when the new McCalls were released, i was all excited and knew I had to make the little top in 7046.

When they went on sale last week at Hancock, I ran and grabbed this one (I didn't buy any other patterns at the sale though!)

I decided to use the not-too-nice feeling jersey from one of the recent FM orders.

This pattern has some serious negative ease! I cut a size 16 (finished bust of 37.5", mine is 39.5") and sewed 3/8" side seams. Now, I realized after the fact that this jersey isn't very stretchy...so that is a contributor, but holy smokes this thing was tight!!!

And surprisingly, short. The gathering is done from just under the bust to just before the hemline, making it a top you would not pair with low-rise pants!

Even though I knew I didn't like the fabric and probably wouldn't wear it (before I knew you could see what I ate 3 days ago), I finished it nicely. I did a rolled hem on the flutter sleeves (which I like more than I ever thought I would), serged and twin-needle stitched the hem and neckline. I was going to do a neck binding, but this fabric is pretty stable.


The fabric is pretty but is so scratchy. Wadder-ville. I will FBA it and add a bit to the side seams (because of course I cut the pattern tissue) but I WILL remake this top.

****************

I had a vision of color blocked 'joggers' (sweatpants) and some of my recent ponte from FM has a really nice drape to it (must be the poly/rayon/lycra and not the poly/lycra).

I hemmed and hawed over a pattern and was going to use this Burda plus size pattern from 8/2014


When I went to read the pattern into, I saw that the contrast bands were just rectangles. Ah. Not so complicated - I can do this! Using my good 'ole Simplicity 2061 pattern (which I've made 4 times previously), I cut 2 sizes smaller (size 12 vs. 16) and cut rectangles 3.5" wide. I used a 1/4" seam to connect the panels to the front and back pieces. All other seams were 5/8". 

On the pattern envelope for S2061, the band is larger as it's meant to go around the calf:


And thats how I made my fist pair:


So I didn't account for the fact that I wanted these ankle length so used the longer length of view A, but still used the bands. They kind of puddle around my ankles. My daughter says their cool so... :)


************

Lastly, I decided to use my nice shirting fabric on Burda 7136.


I made both of the above before cutting the fabric for the shirt. I finally started tackling it this weekend and everything was going so well.

I did a 1/2" FBA, a 1/2" narrow shoulder adjustment and cut the pattern out. I got the body and collar assembled this afternoon and even did flat felled side seams (after this photo, obviously)! That was a first time technique too!


Now, I had been dragging on starting the sleeves because I've never done a tower placket before. I was afraid of it. But, I decided to get.it.done. 


Nice, right?

But you can probably tell there's a tone here, can't ya?

The damn thing is backwards. The sleeve opening is 'toward' the front. I even double checked that I didn't put the sleeve in backwards. I would be a huge liar if I said it didn't bother me and another liar if I said I was going to undo it - I will not. It's too much. 

But I don't know what to do. :(

Wear the sleeves rolled up, ignoring my awesome placket-ness? It's such a nice shirt.

wahhhhhhhhh!!!!!!!!